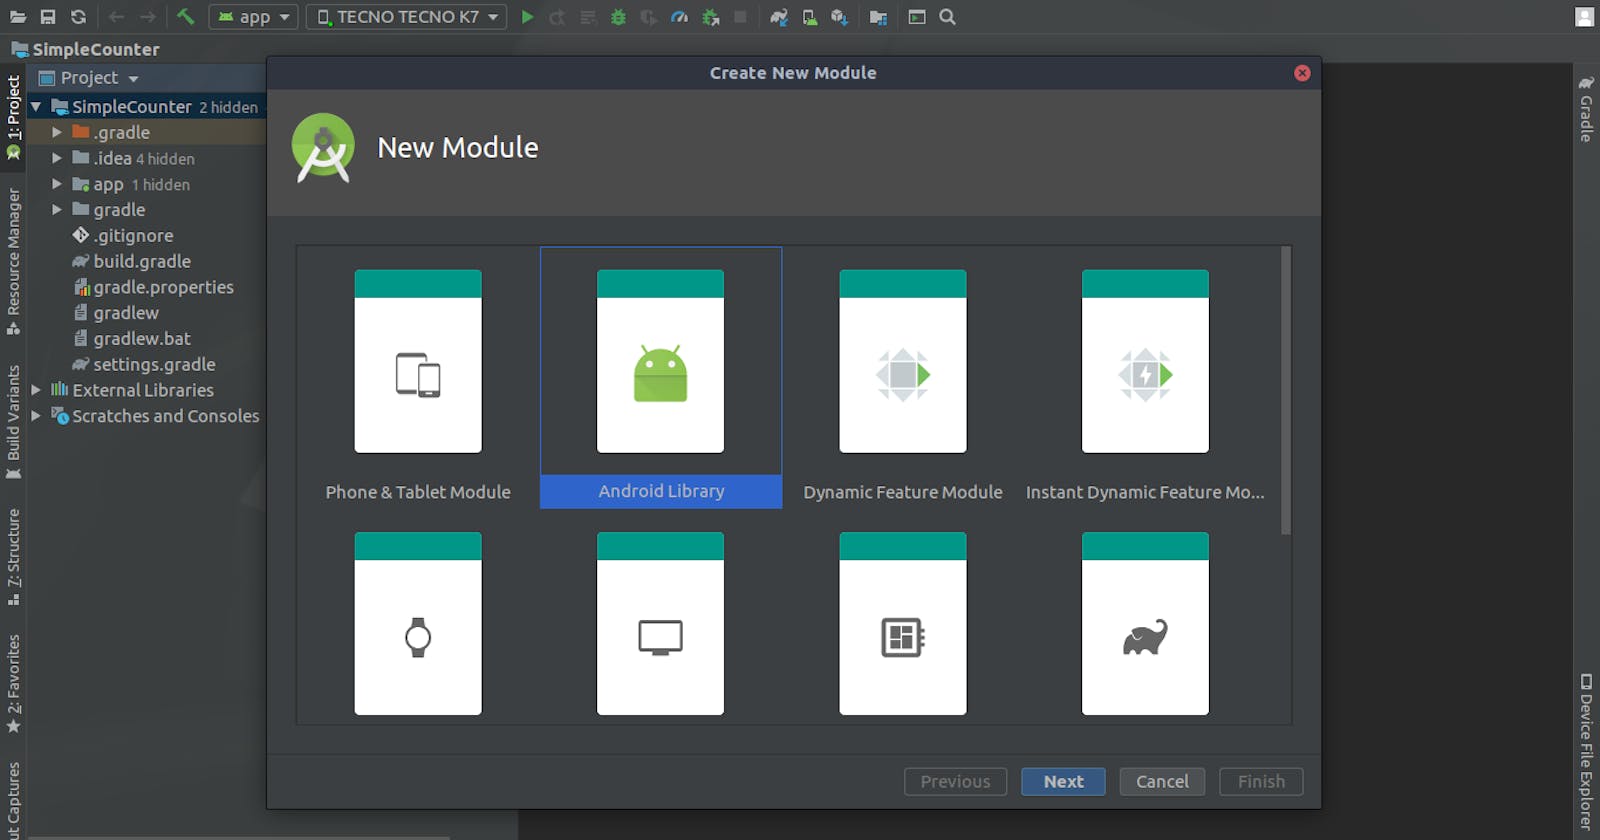
We are now done with the custom view and now its time to get this thing packing and going as a library.😎
If you missed out on the previous articles check them out here Part 1 Part 2 Part 3
I'll be using Jitpack to publish it as it integrates seamlessly with my Github account, however, there are other alternatives you could give a look like jcenter and MavenCentral.
So to follow along you will need a Github account, to begin with. It also works with other Git hosts but I won't be diving into that in this series.
Let's get right to it...🚀
For jitpack to work your builds should be working on your git repository.
First add the android-maven plugin in build.gradle
buildscript {
  dependencies {
     classpath 'com.github.dcendents:android-maven-gradle-plugin:2.1'
   }
}
Then in your library build.gradle file apply the plugin and groupid,helps locate the library.
 apply plugin: 'com.github.dcendents.android-maven'

 group='com.github.username'
To pick the latest version of our build we will need to add this to our projects build.gradle
configurations.all {
    resolutionStrategy.cacheChangingModulesFor 0, 'seconds'
}
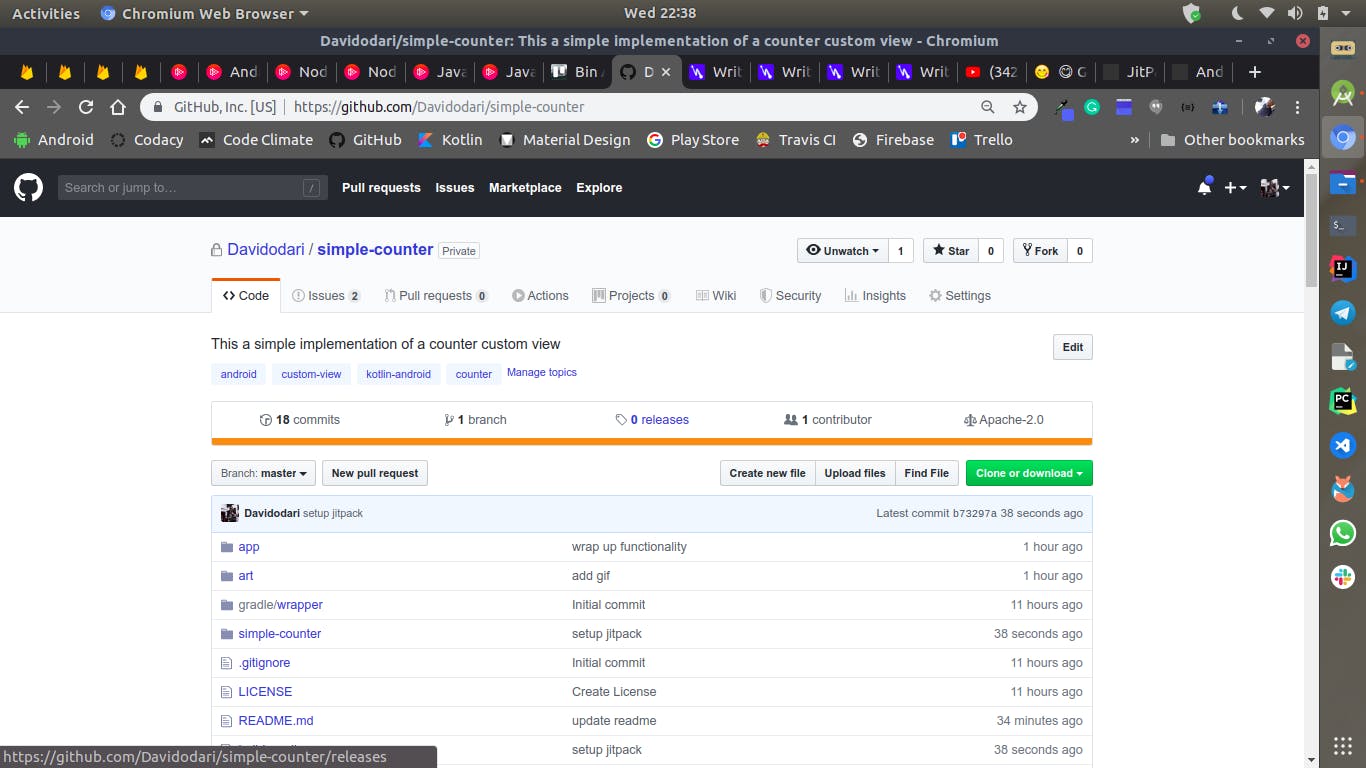
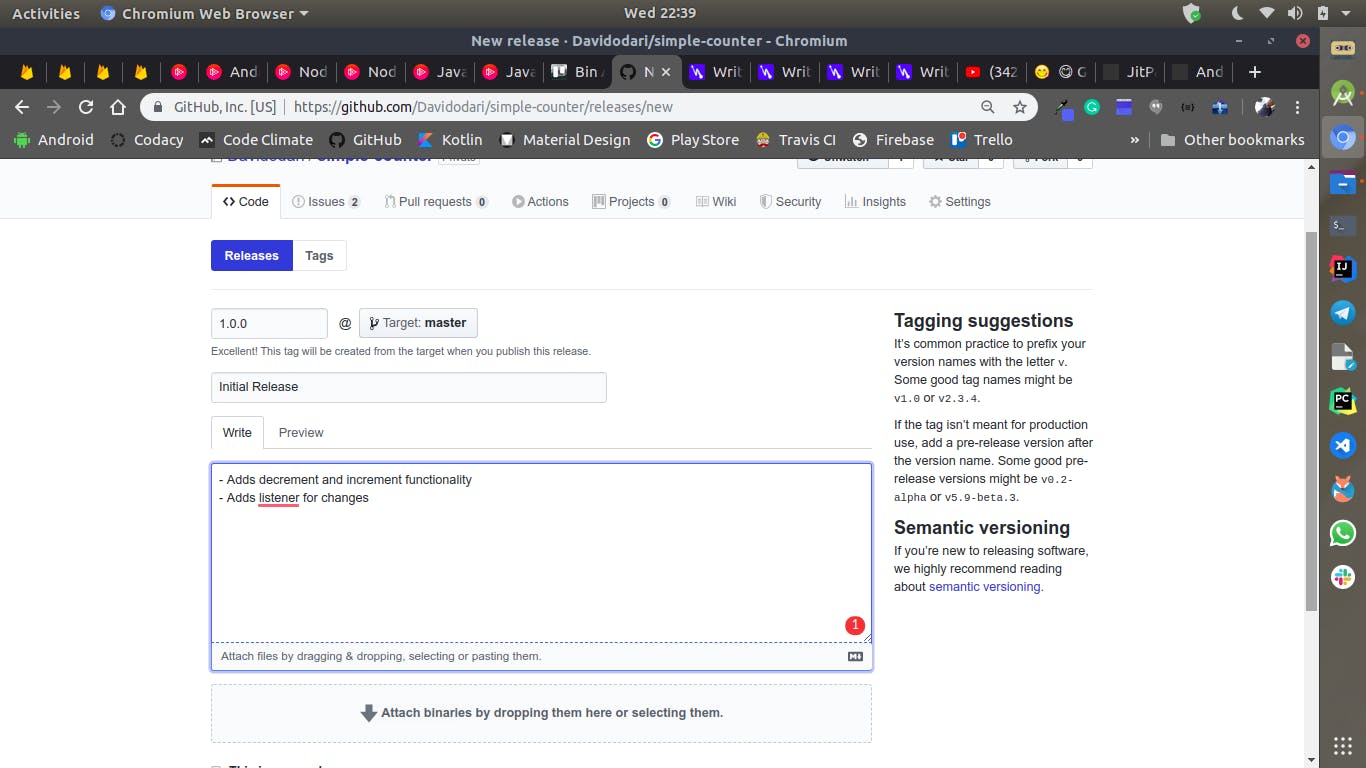
You can then setup a github release for your library stating the version and some release notes like so
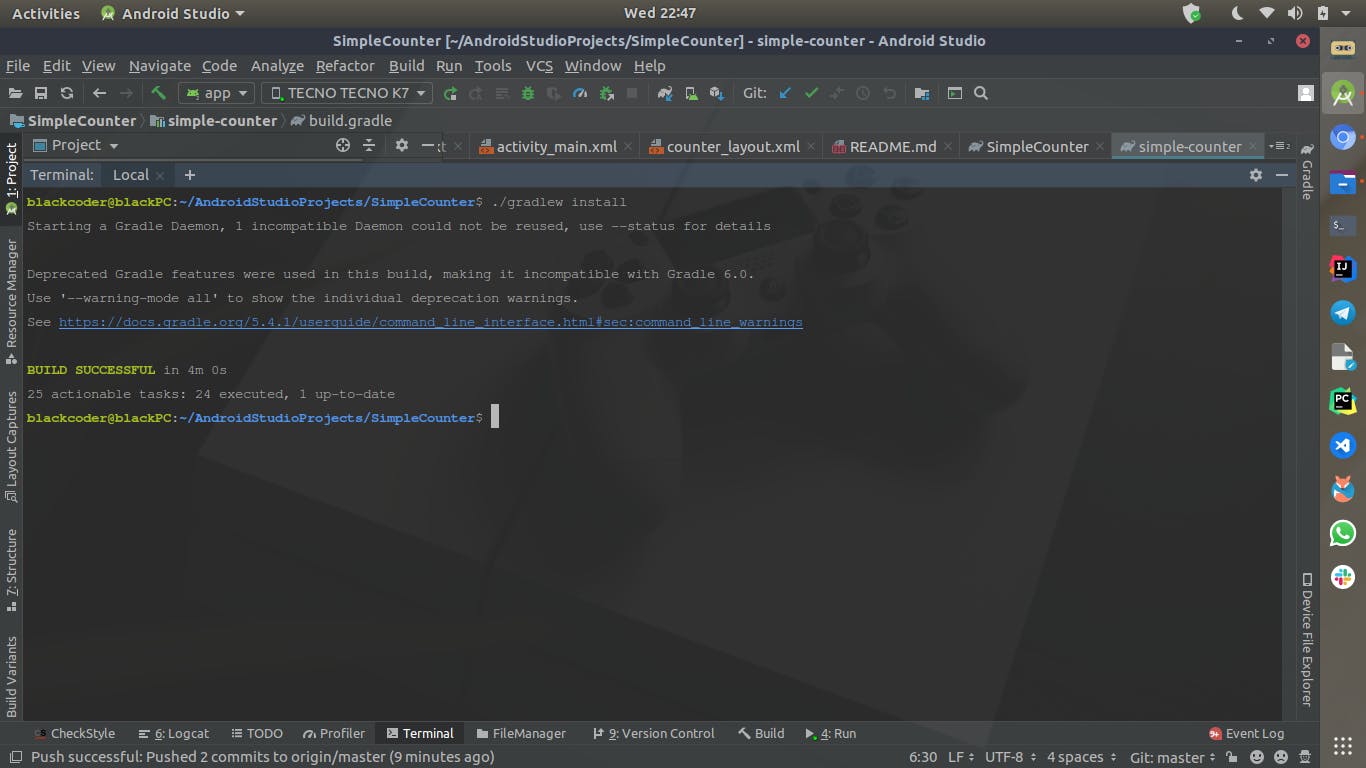
Then finally test that everything works by running ./gradlew install
Your jitpack dashboard should also be something similar to this
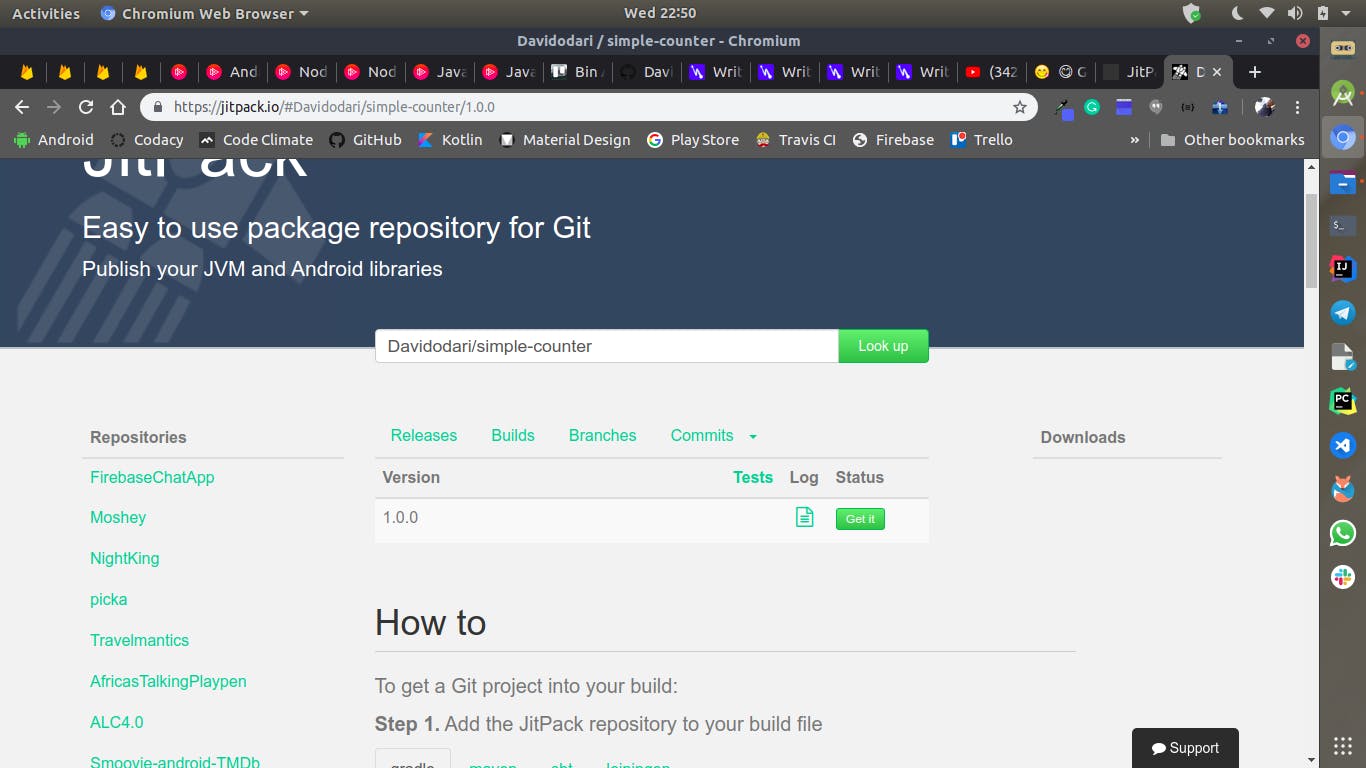
And you can pick up your badge and place it on your repo 😃.
Using the library
To use the library you first need to provide the jitpack repository in your project build.gradle
  repositories {
         ...
        maven { url "https://jitpack.io" }
   }
Then add the library as a dependency with the following format
   dependencies {
         implementation 'com.github.username:repo:$version'
    }
And with that, we have published our library and used it in a project 🥳🥳🥳
