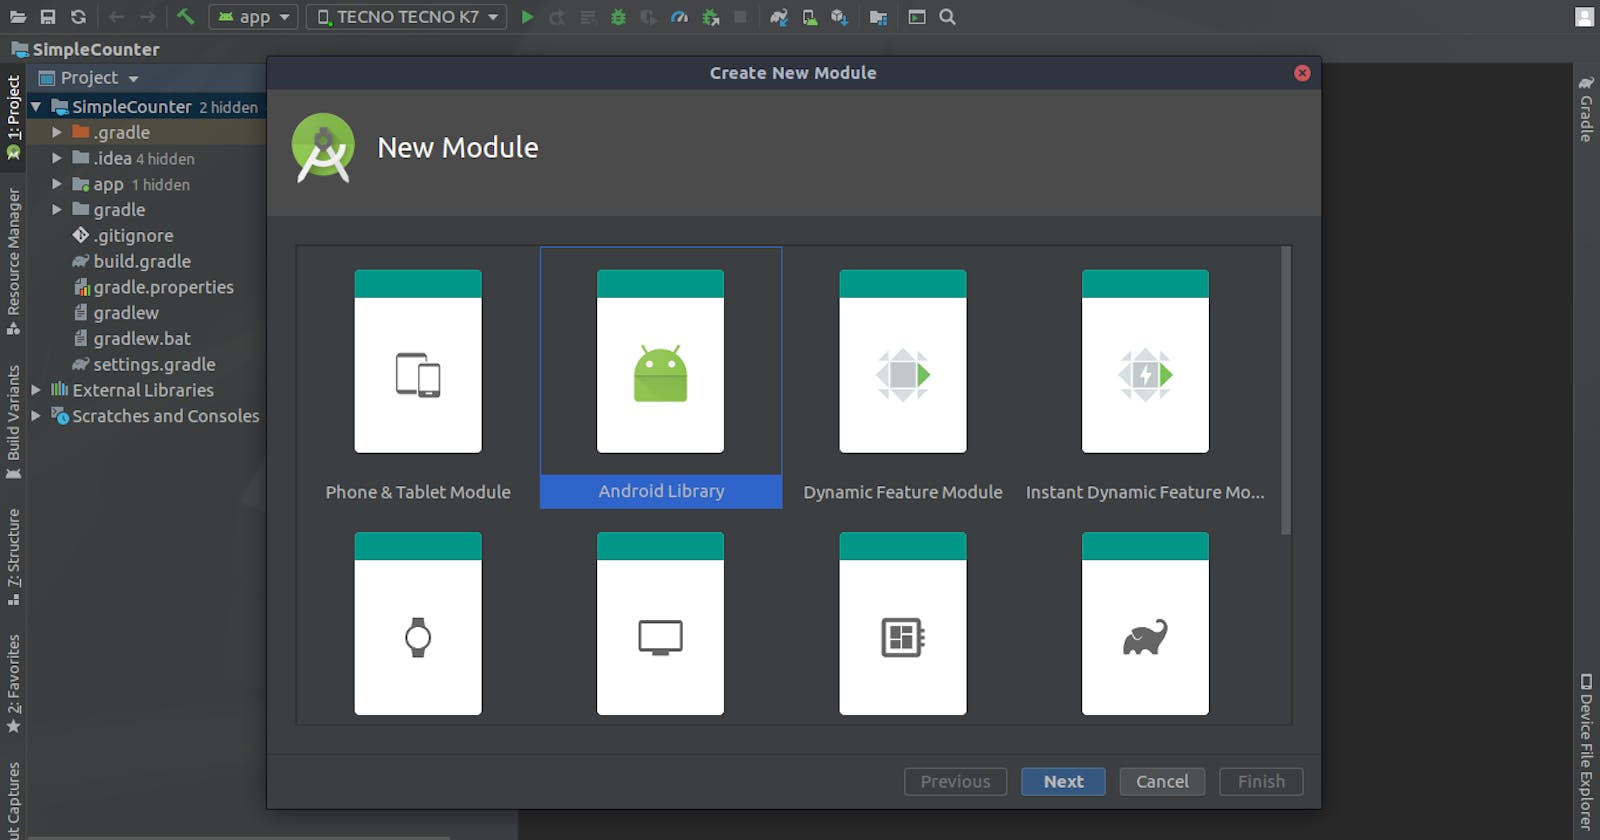


In the previous article, we saw how to set up an android module/library in a project. For a quick recap checkout the article.
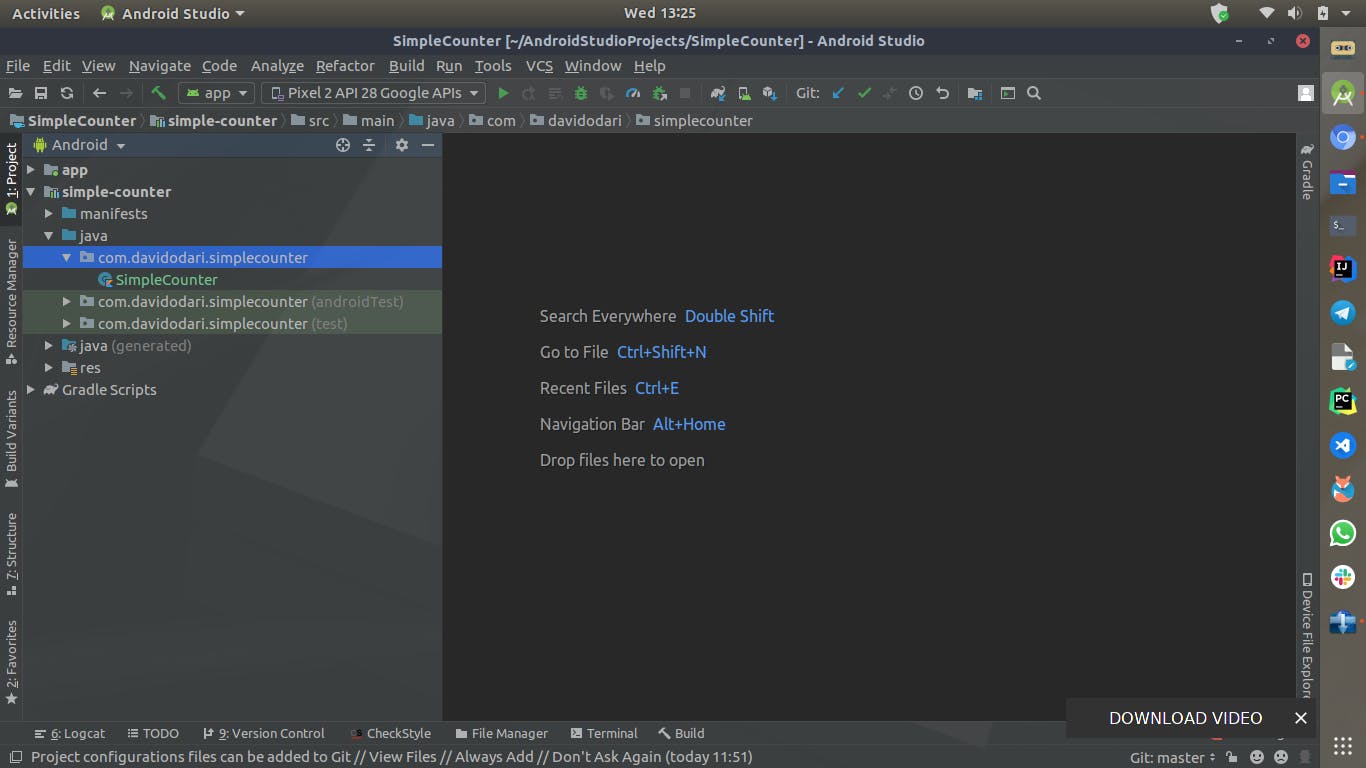
Next, let's get into creating our simple counter custom view. Create the SimpleCounter class within the simple counter module under the source files directory
Our Simple Counter Class needs to extend from a Linear Layout since it will be a compound custom view containing two buttons and an edit text for the value being incremented and decremented and will need to be aligned, either horizontally or vertically.
Doing so will result in a series of errors due to constructor parameters that need to be satisfied first.
and with that, the constructor parameters have been filled with default values making use of Kotlins' conciseness and removing need to provide constructor overloads but the above code, when used in XML, would crash and this is because there are no default arguments in java when decompiled hence @JvmOverloads provides the overloads in java instances.
I have also set the orientation of my counter to horizontal on initialisation as its the behaviour I want from it.
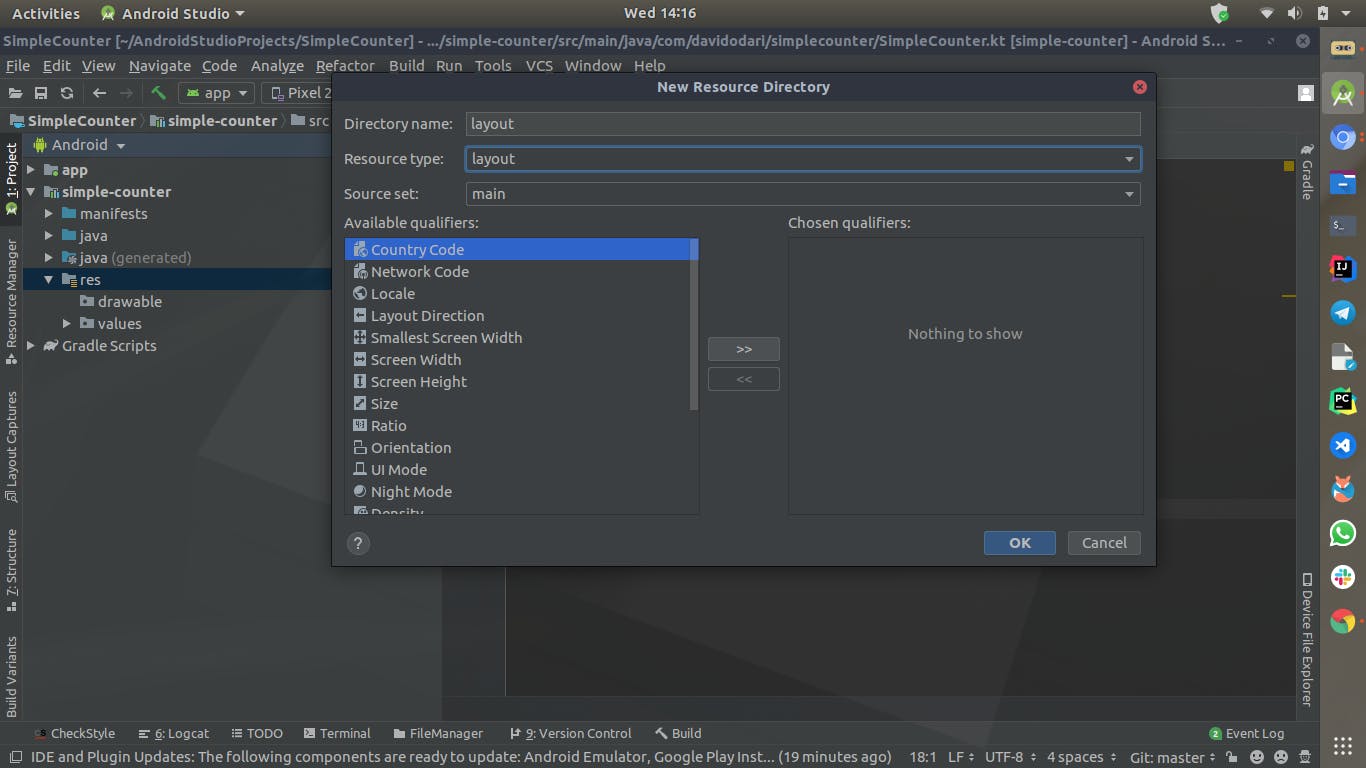
Next, we need to define the interface or views that will be contained in our SimpleCounter,this can be done under the layout resource as shown
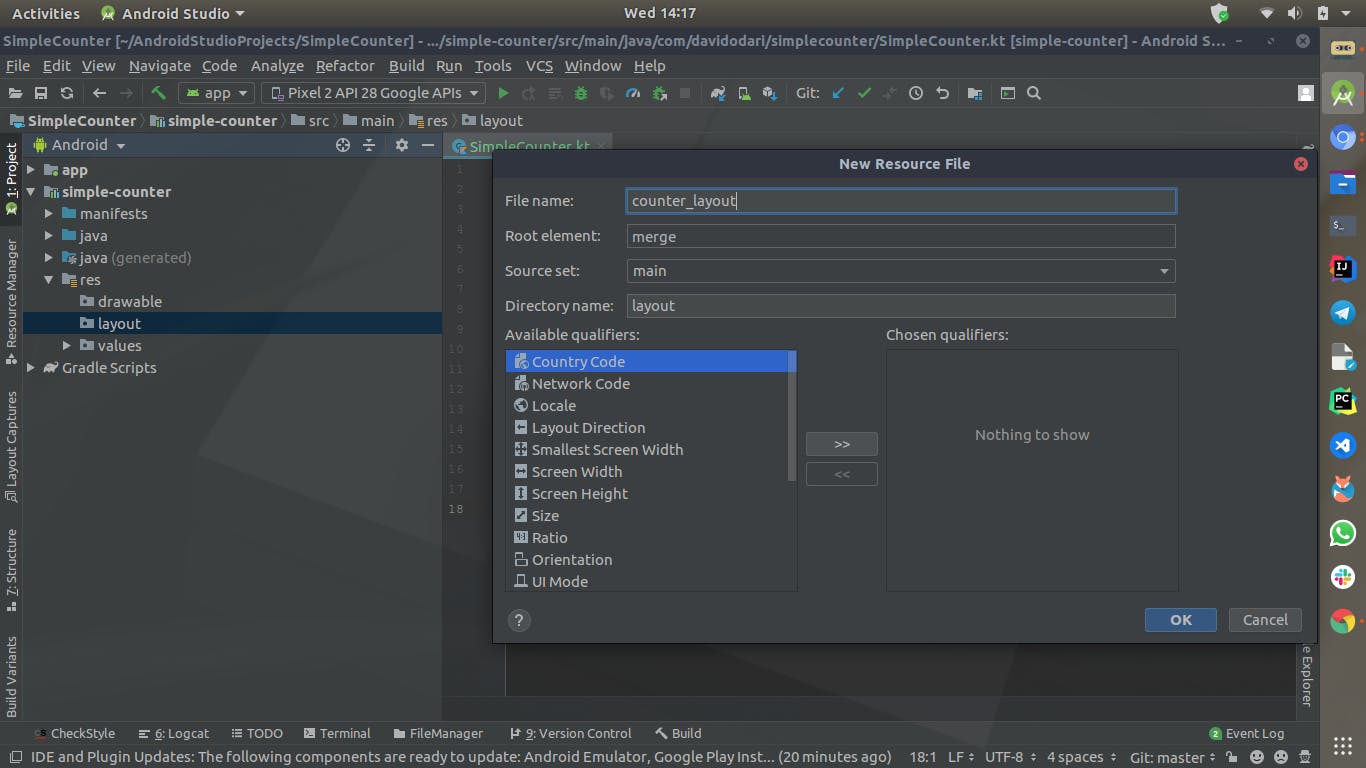
Use the merge tag as the root element since we will be inflating the layout into the parent container which is a Linear Layout
And here's the layout I came up with that provides two buttons and an edit text in the middle.
We then inflate our custom view class with the layout we just created
From there we can start working with our custom view, since we have not hosted our library just yet we can include it in our app module as a local project and start using it directly. So navigate to your app modules build.gradle and add the module dependency containing your custom view
dependencies{

        ....
        implementation project(':simple-counter")
        ...
}
Once done building the app add the custom view to your layout to see the result as shown
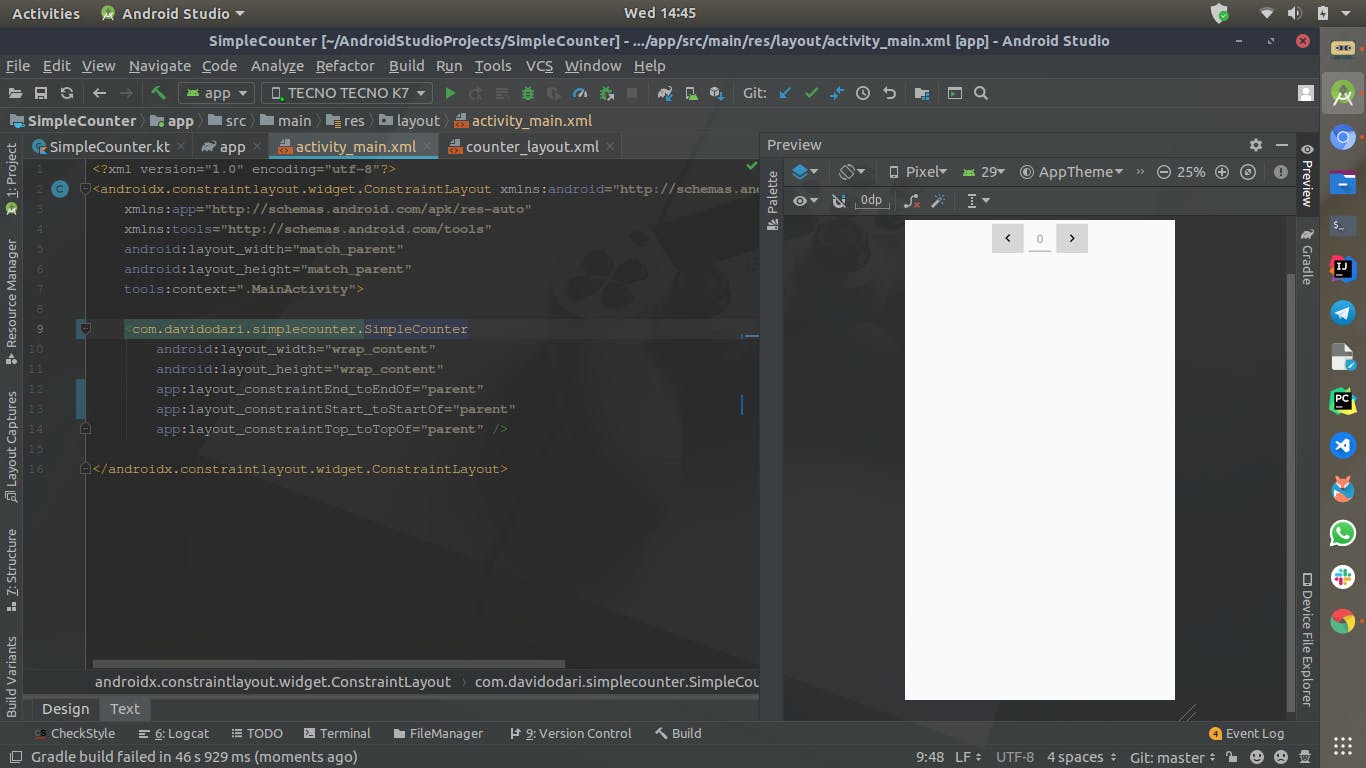
And with that you have your basic custom view that does nothing just yet, we will be adding some behaviour in the coming article.
See you then...😃